

Where fresh walls begin long before new decor arrives
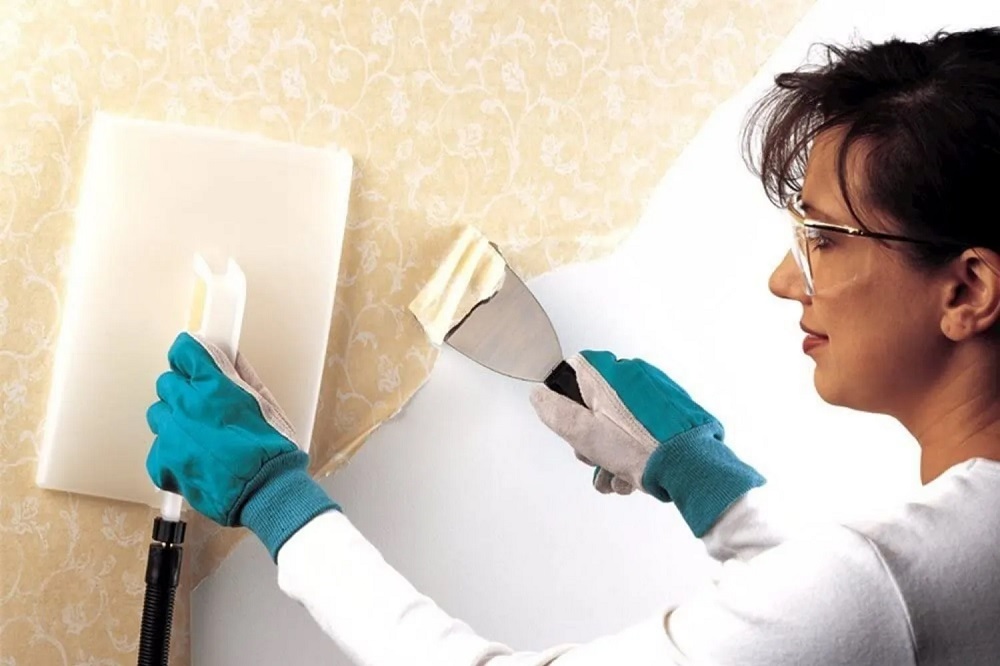
The most exciting part of a room makeover is usually the final look. New paint, fresh wallpaper, updated furniture, and improved lighting often get the attention. Yet every successful transformation starts much earlier. Before new designs can take shape, old materials need to come down cleanly and correctly. Many renovation projects are now improved by using wallpaper removal tools because they help simplify a task that can quickly become frustrating without the right approach. Removing wallpaper may seem straightforward, but the process often involves more than simply pulling paper from the wall.
Preparation influences every step that follows. Poor removal techniques can leave damaged surfaces that require extra repair before decorating begins. Good tools help reduce effort while supporting cleaner results. This guide explores the equipment, methods, and planning strategies that make wallpaper removal more manageable. We will look at preparation steps, efficiency tips, surface protection, and project organization. Each factor contributes to a smoother experience and a better finished wall. When the removal process is handled correctly, everything that comes next becomes easier. That is why investing time in the early stages often pays off throughout the entire project.
How to choose the right tools before starting the job
Every wallpaper project is different. Some walls release paper easily. Others hold on stubbornly after years of use. Choosing the right tools before beginning can make a major difference in both speed and results. Preparation starts with understanding the wall surface, wallpaper type, and condition of the adhesive. Once those details are clear, selecting suitable equipment becomes much easier.
The goal is not simply removing wallpaper quickly. The goal is protecting the wall while reducing unnecessary effort. Proper tools help loosen materials without causing avoidable damage. They also improve consistency across larger areas. A project that begins with good preparation often feels more manageable from start to finish. Small planning decisions can prevent many common problems later.
- Assess wall conditions before starting
- Match tools to wallpaper type
- Gather supplies before beginning work
- Protect surrounding surfaces
- Focus on wall preservation
What preparation steps help create smoother removal results
Successful wallpaper removal often depends on what happens before the first section comes off the wall. Furniture should be moved or protected. Floors benefit from proper covering. Electrical outlets and nearby fixtures may require attention as well. These simple precautions help create a cleaner and safer work environment.
Wall preparation can also improve efficiency. Testing a small section first often reveals how the wallpaper will respond. Some materials loosen quickly while others require additional treatment. Understanding those conditions early helps avoid surprises later. A thoughtful setup allows the project to move forward with fewer interruptions and more predictable results.
- Cover floors and nearby furniture
- Test removal methods on a small area
- Protect electrical outlets and switches
- Prepare cleanup supplies in advance
- Create a safe working environment
Why patience often produces better walls than speed
Wallpaper removal is one of those projects where rushing rarely helps. Pulling too aggressively can damage drywall or leave uneven surfaces behind. Taking a steady approach often saves time in the long run because it reduces the need for repairs later. Careful work protects the wall and improves the quality of the finished result.
Patience also allows better observation throughout the process. Changes in adhesive strength, wall condition, or moisture levels become easier to spot when the work progresses at a controlled pace. Small adjustments can then be made before larger problems develop. That flexibility helps create smoother walls and a more professional appearance once redecorating begins.
- Work in manageable sections
- Avoid excessive force during removal
- Watch for signs of wall damage
- Adjust techniques as needed
- Prioritize quality over speed
How to prepare walls for the next stage of decorating
Removing wallpaper is only part of the process. The wall should be ready for whatever comes next, whether that means paint, new wallpaper, or another finish. Residual adhesive often needs attention before decorating begins. A clean surface supports better adhesion and a more attractive final appearance.
Inspection is also important during this stage. Small dents, scratches, or imperfections can be repaired before they become visible beneath new finishes. Taking extra time now can improve the appearance of the room for years. Proper preparation creates the foundation for successful decorating and helps maximize the value of the renovation effort.
- Remove remaining adhesive residue
- Inspect walls carefully for damage
- Complete necessary repairs
- Clean surfaces thoroughly
- Prepare walls for the chosen finish
What helps turn a challenging project into a rewarding update
Wallpaper removal may not be the most glamorous part of home improvement, but it remains one of the most important. Strong preparation, proper equipment, and steady work habits all contribute to better outcomes. When the walls are handled carefully, the next stage of decorating becomes much more enjoyable.
We believe successful projects begin with a solid foundation. Taking the time to remove wallpaper correctly helps protect surfaces and supports better long-term results. By focusing on preparation, patience, and the right tools, homeowners can create smoother walls and a more satisfying renovation experience. Start with the basics, trust the process, and enjoy watching the room move closer to its next chapter.
Comments are closed.